NSX-T Cloud Service Manager Setup
Now that we have completed deploying the NSX CSM appliance and it is powered up, we will open our browser and access the CSM https://fqdn
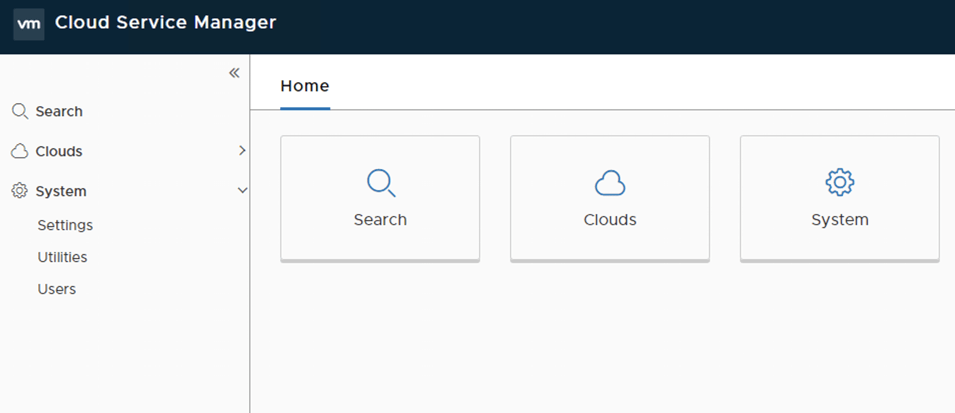
If everything deployed correctly you should see the NSX Cloud Service Manager dashboard seen below
Step 1 – Once logged you are presented with the dashboard below and firstly we want to connect the NSX-T CSM to our own premise NSX-T Manager
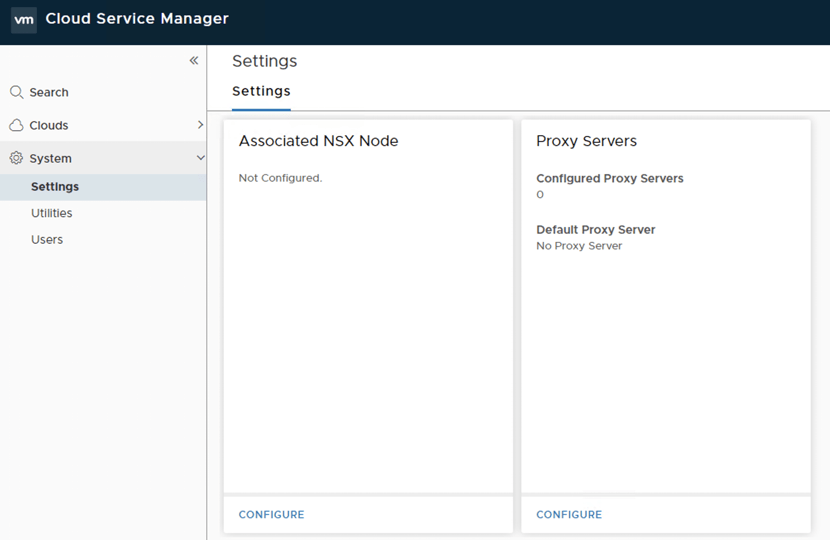
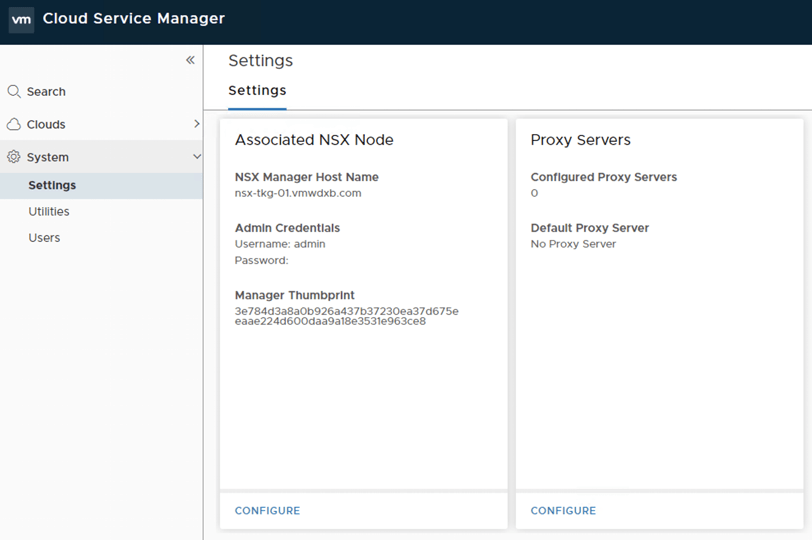
So we go over to System/Settings and you will see that there is no current NSX Node associated
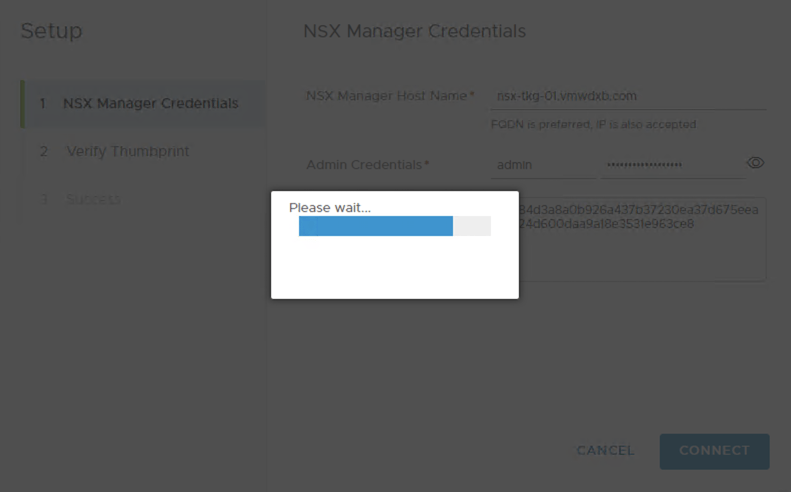
Step 2 – We now add our own premises NSX-T Manager to the CSM appliance. In this step we need the FQDN or IP address for our own premise NSX-T Manager, the admin credentials as well as the Manager Thumbprint – Refer to my blog post on how to retrieve this.
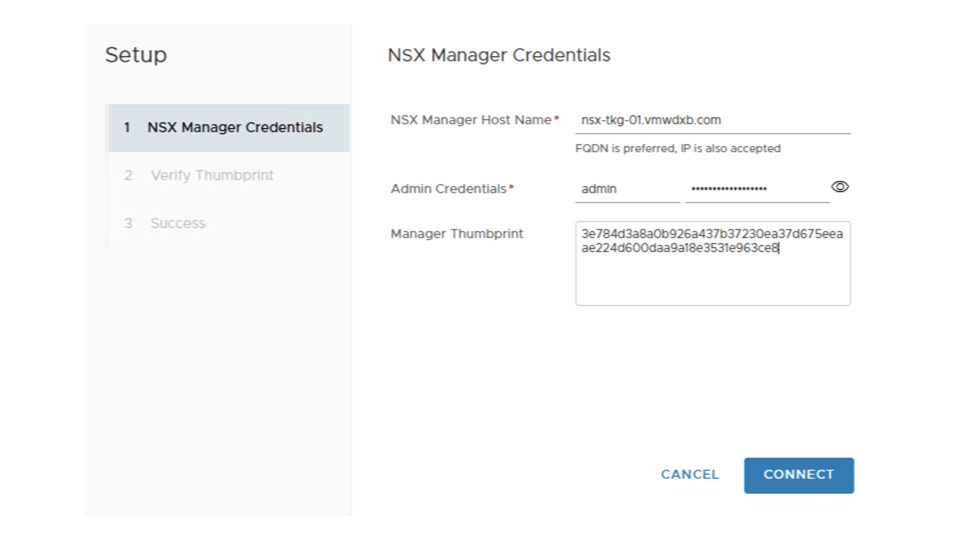
Once you have populated the details, hit Connect and the CSM goes off and connects to your NSX-T Manager, you will notice a progress bar while its contacting the NSX-T Manager
If everything is successful you will see the message “”Connection to Manager Successfully Completed”
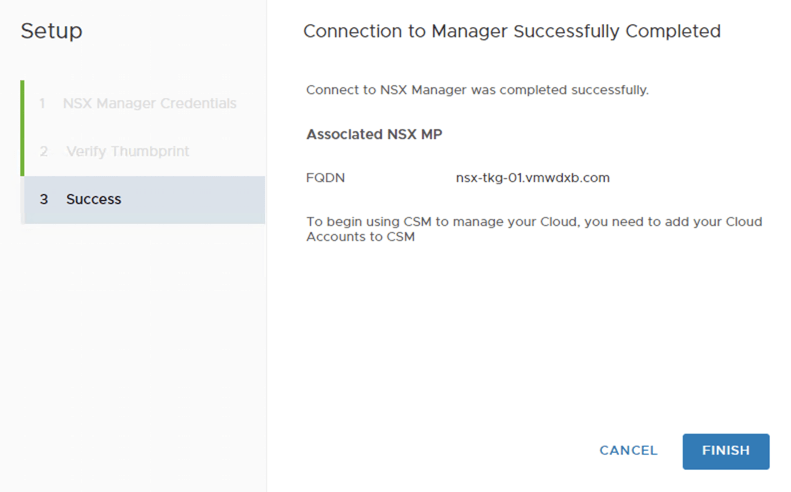
Now we are ready to go ahead and our public cloud environments. See my next blog post for this.
