VMware recently introduced URL Analysis capabilities on the NSX L7 Edge Firewall.
“The Layer 7 Edge Firewall is now further enhanced in NSX-T 3.0 with the implementation of URL Analysis for URL Classification and Reputation. The Edge Firewall detects access from outside the datacenter for granular detection and categorization of in-bound and outbound URLs.”
URL analysis allows administrators to gain insight into the type of websites accessed within the organization, and understand the reputation and risk of the accessed websites.
This blog will take you through the step by step procedure to enable URL Analysis in your NSX-T 3.0 environment – take note this feature requires the NSX Data Center Enterprise Plus license. Unlike previous features, URL Analysis is license enforced and will not work if you do not have a minimum of the Enterprise Plus license.
Let’s get started with enabling URL Analysis
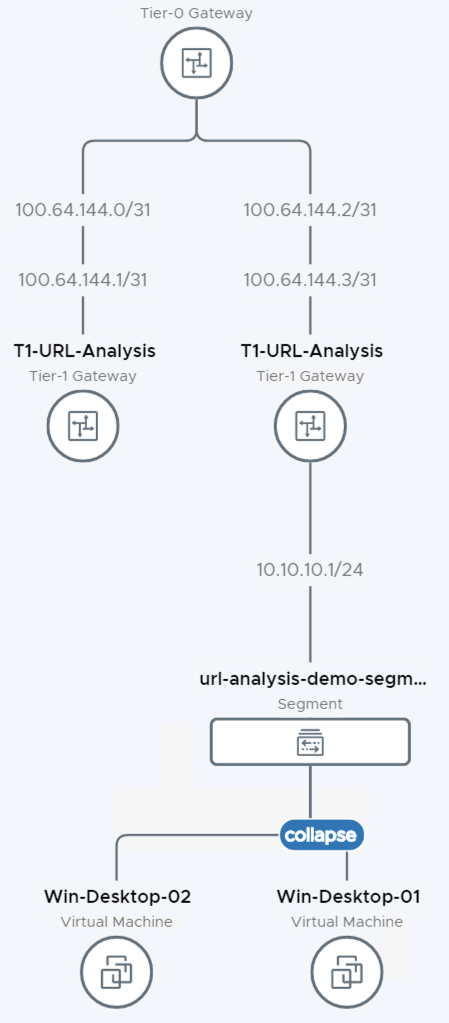
This blog takes into consideration you have already deployed the required Edge Appliances and configured segments, T1’s and T0’s as needed to meet the demo topology below
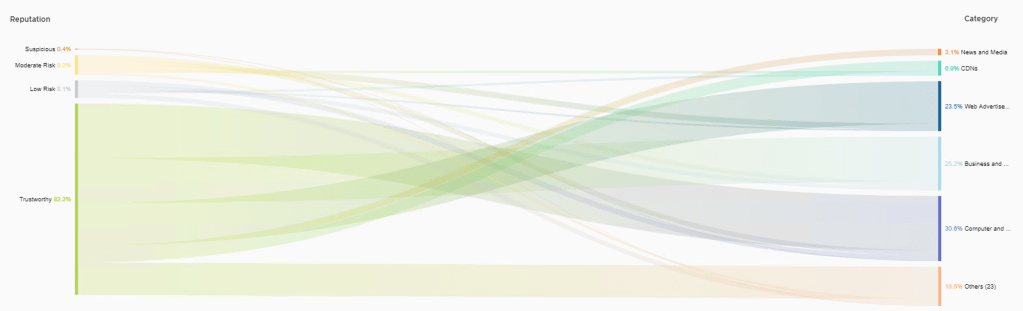
NSX-T has 80+ pre-defined categories and domains can belong to multiple categories. Score are then computed from 0 – 100 into 5 categories. The distribution is shown as a percentage of each risk level and the total number of flows/Risk level. NOTE: URL analysis is available on gateway firewall.
Step 1 – Ensure that DNS is configured on an edge node. See Create an NSX Edge Transport Node in the NSX-T Data Center Installation Guide. ***When deploying the Edge Appliance, you need to make sure you have followed the deployment guide correctly and enabled DNS***
It is important to know that your management interface(s) of the Edge nodes(s) used by your NSX-T T1 distributed router as their Services Router (SR) must have access to the Internet to download the database. DNS is required on Edge Nodes to resolve the cloud server domain name hosting the URL Database. If the management interface(s) do not have Internet access or can not resolve DNS, this functionality will not work.
Step 2 – Enable URL Analysis

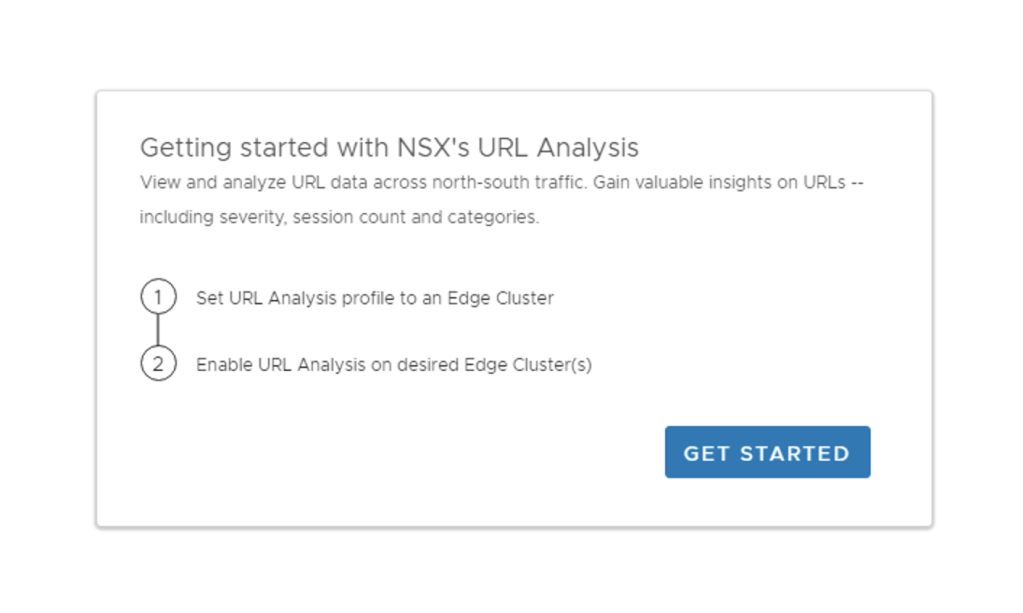
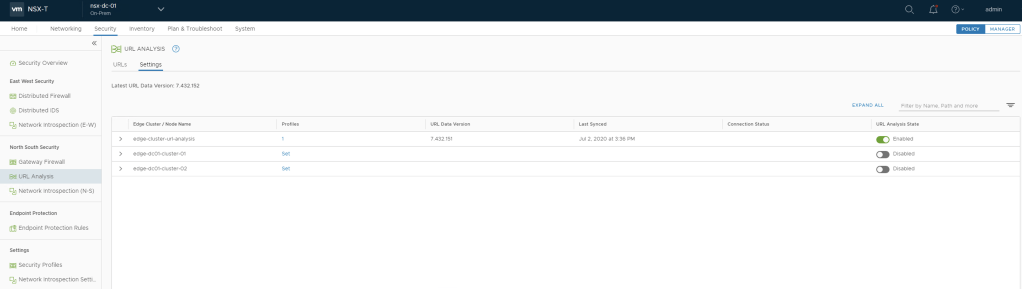
On the NSX-T Manager dashboard click on Security at the top and you will see the dashboard above. At the moment we have not enabled URL Analysis and there for have no data available here yet. Lets click on Get started with URL Analysis >> Hit GET Started on the Pop Up shown below
Next we will need to select the Edge Cluster where we are going to enabled the N/S URL Analysis functionality – in my lab I will enable it on the cluster named: edge-cluster-url-analysis

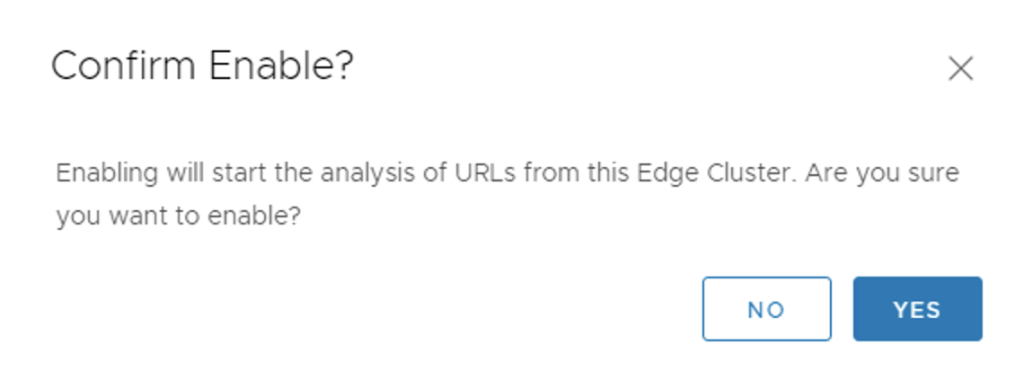
Toggle enable on the right hand side for the cluster you will be using in your setup and then click YES on the pop shown below.

Now that we have enabled it on the Cluster(s) and shown above, we have an optional task to create a context profile, with a URL Category attribute. For the sake of the blog we will go ahead and perform this task.
Step 3 – (Optional) Create a context profile, with a URL Category attribute
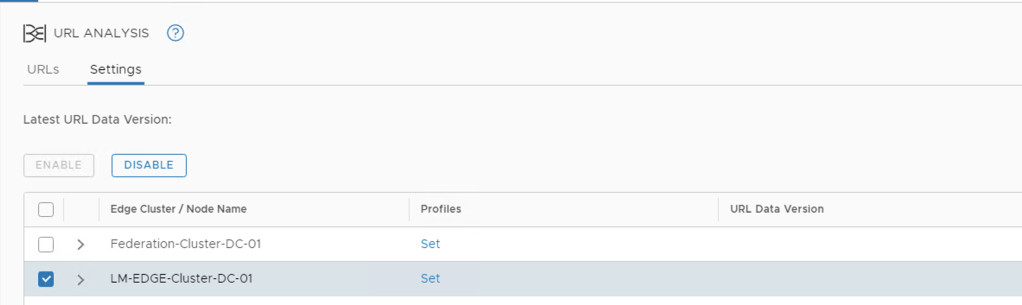
Click on Set under Profiles for the cluster you have selected to enable this one, it will open the screen shown below.
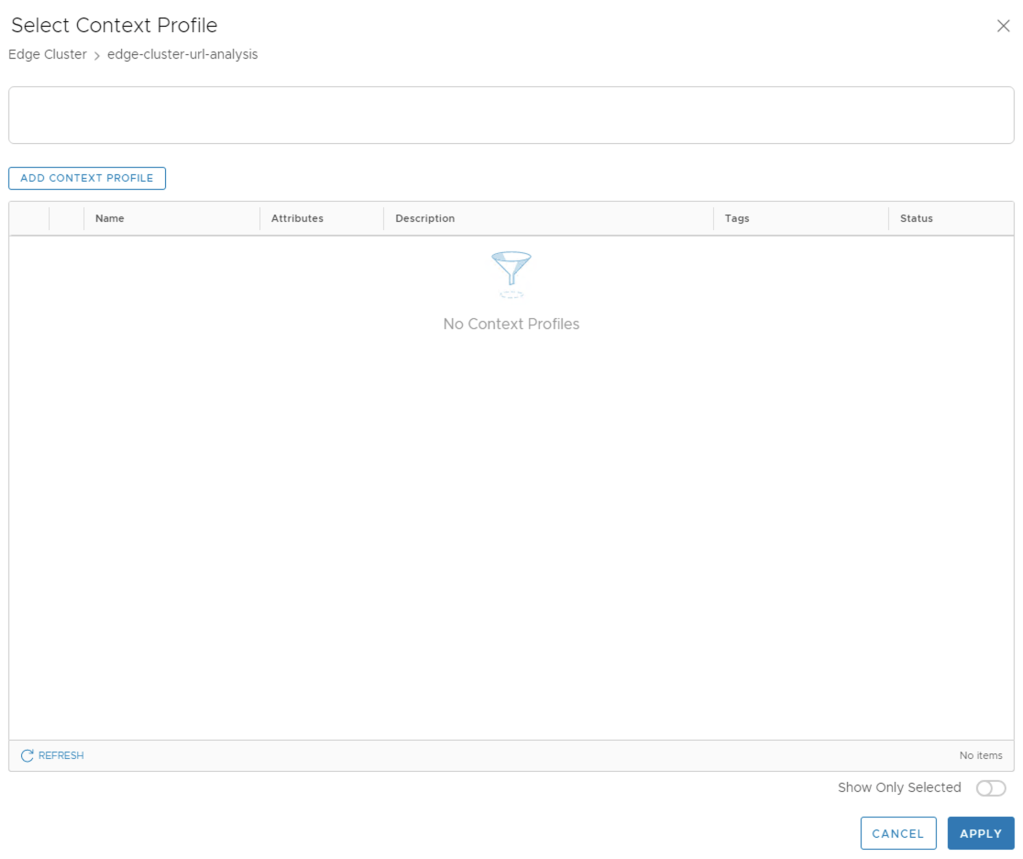
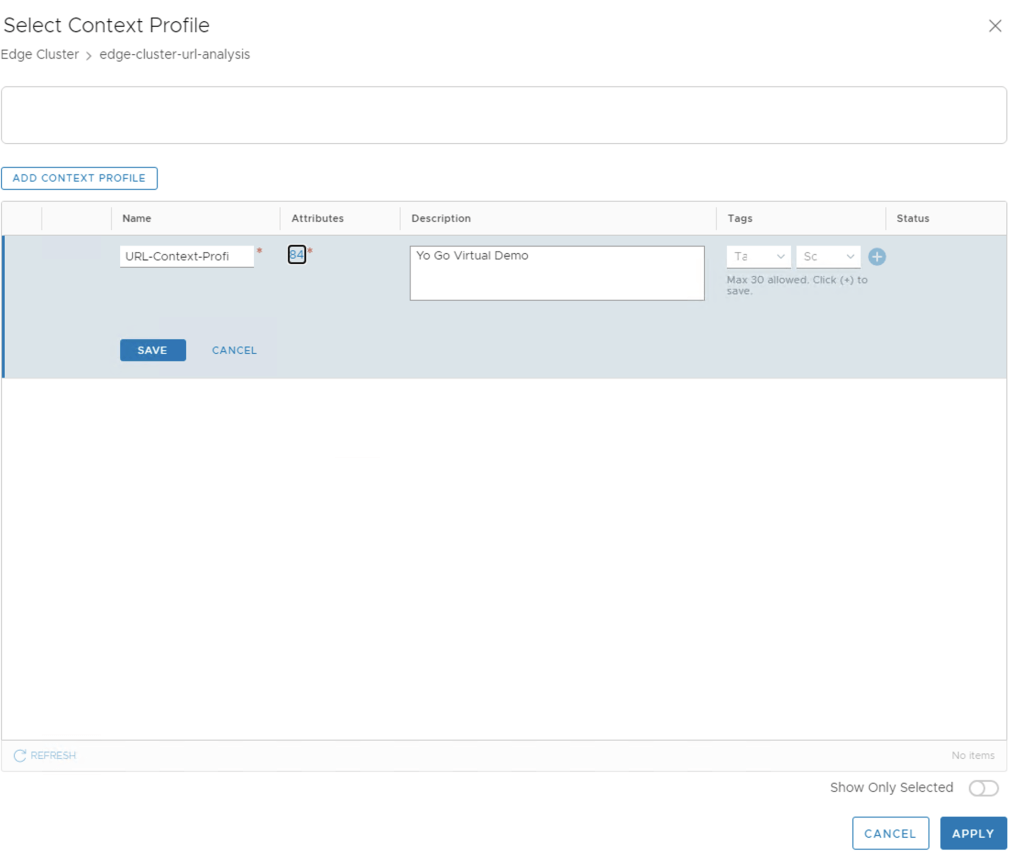
Click on the top left – ADD CONTEXT PROFILE and provide a name for the Context Profile, you could add description.
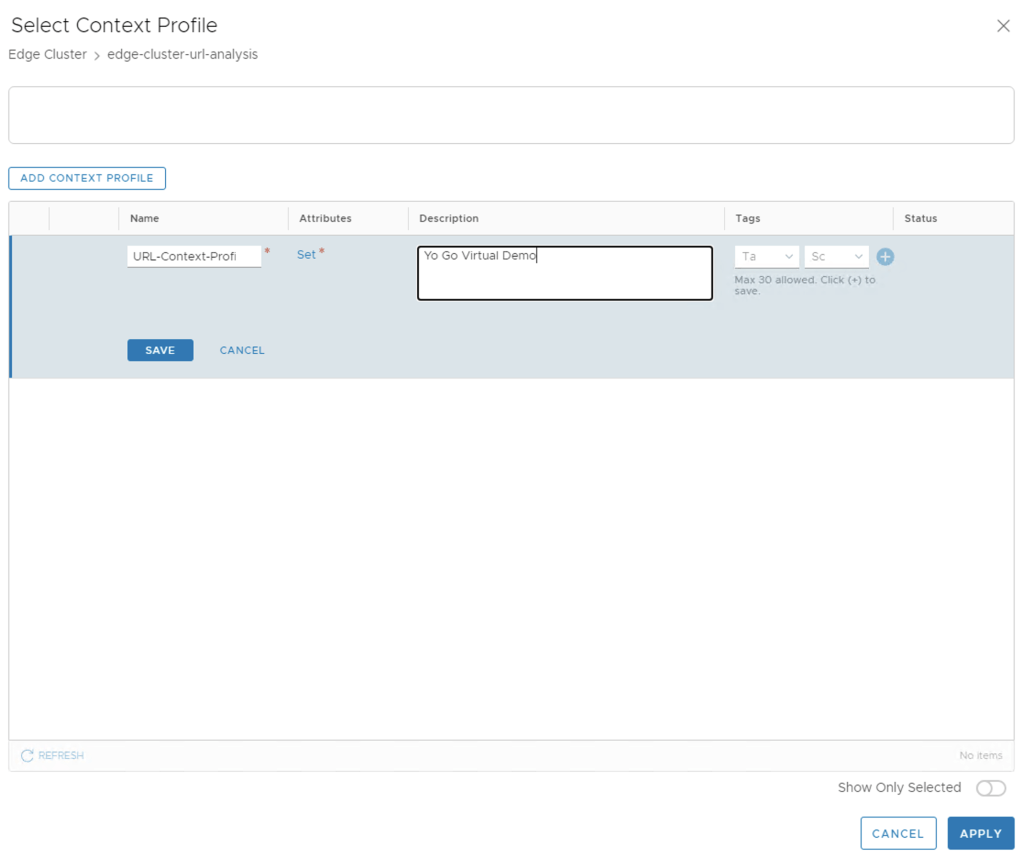
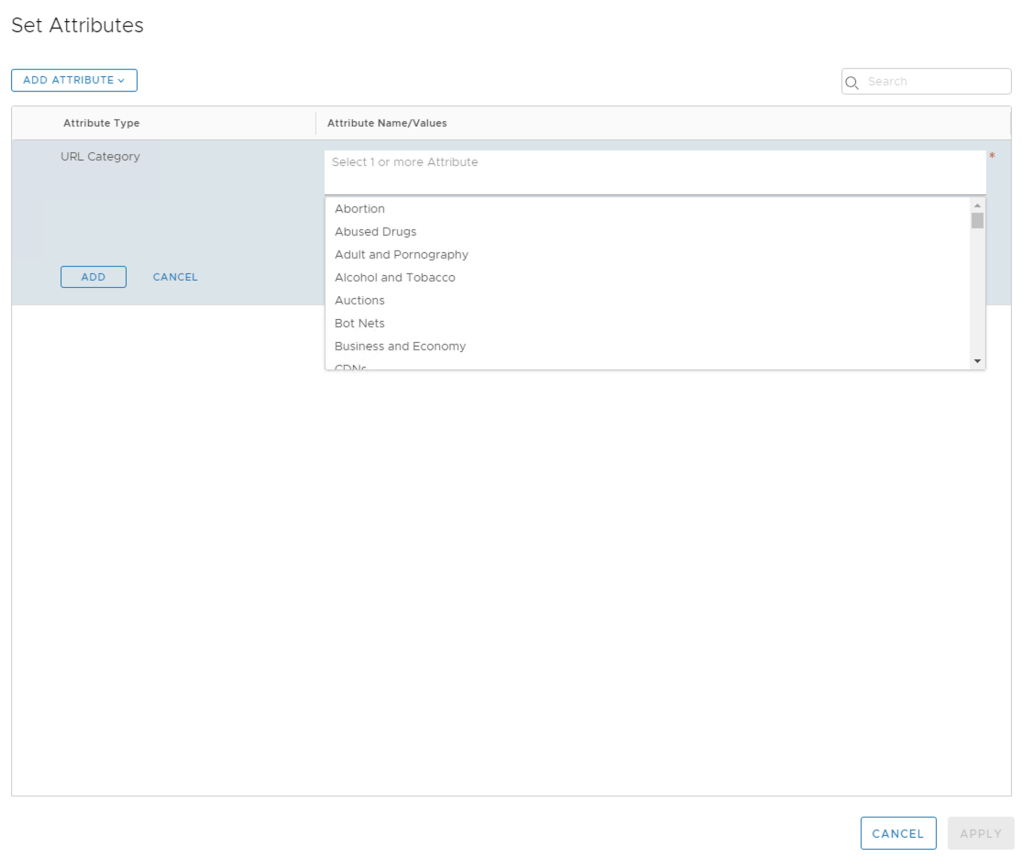
Once you have configured the Name, click on Set and the window below opens. Go ahead and click on ADD ATTRIBUTE
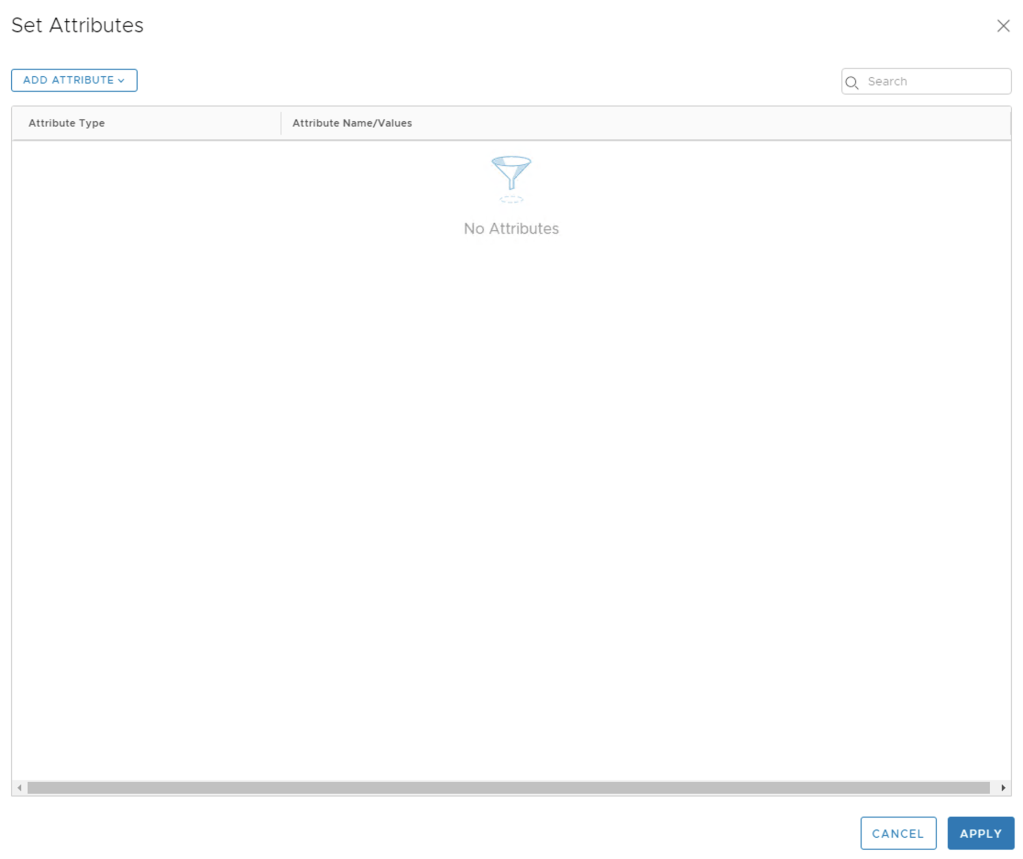
Now select URL Category

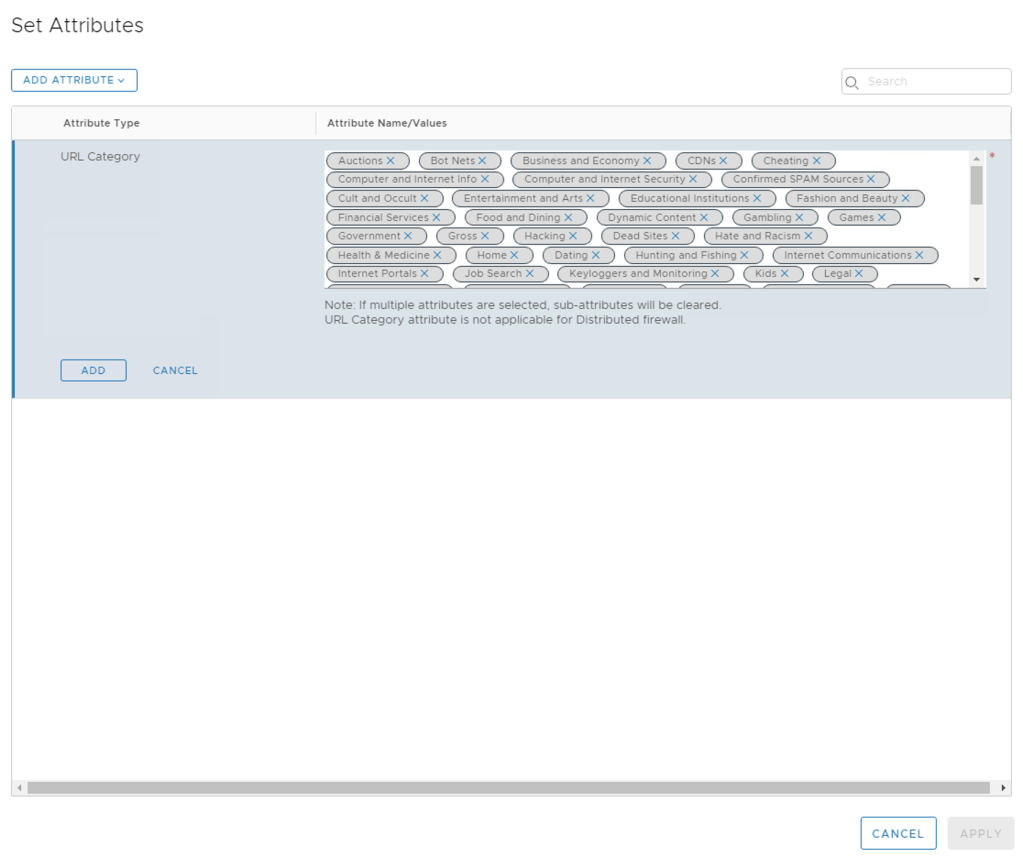
This takes you to the next dashboard showing a list of attributes which is our categories, just click on the names to add them to your list.
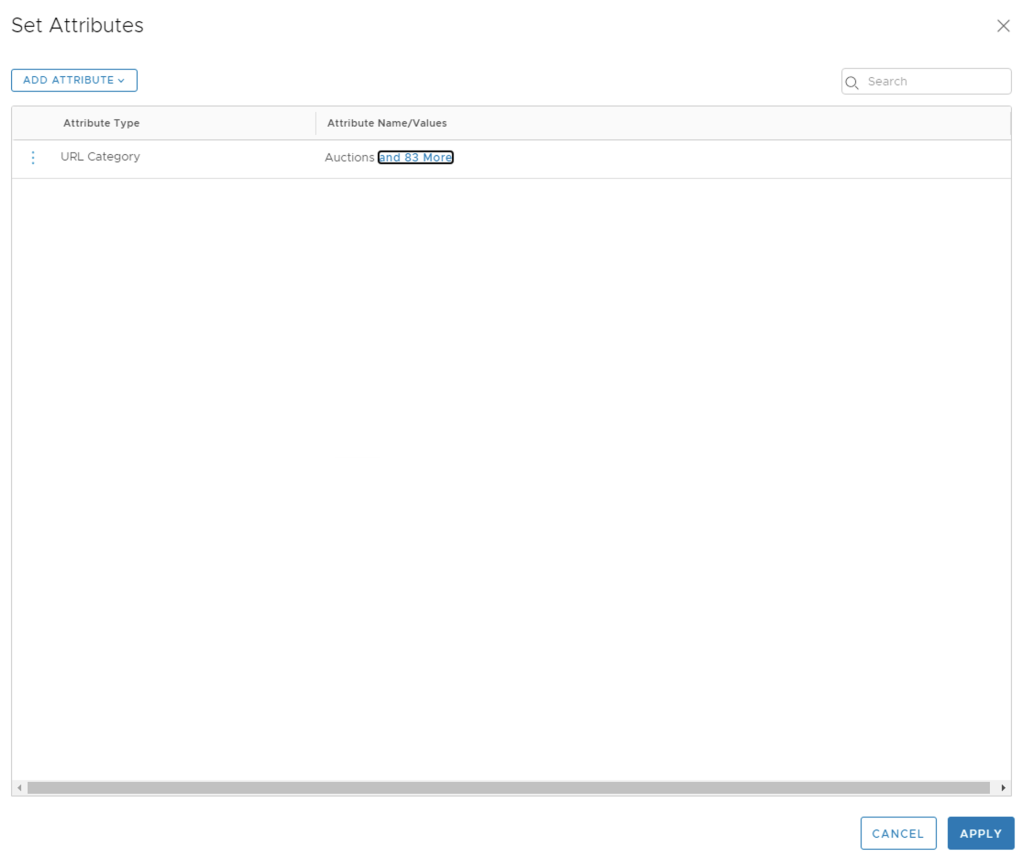
I added all the available options to my profile, click ADD when done.
Next Hit Apply
Now hit Save and then followed by APPLY on the bottom right.
Once you applied the context profile, the system will contact the URL Database server on the Internet and perform the Database Download. You should see a URL Data Version and Last Synced date and time.

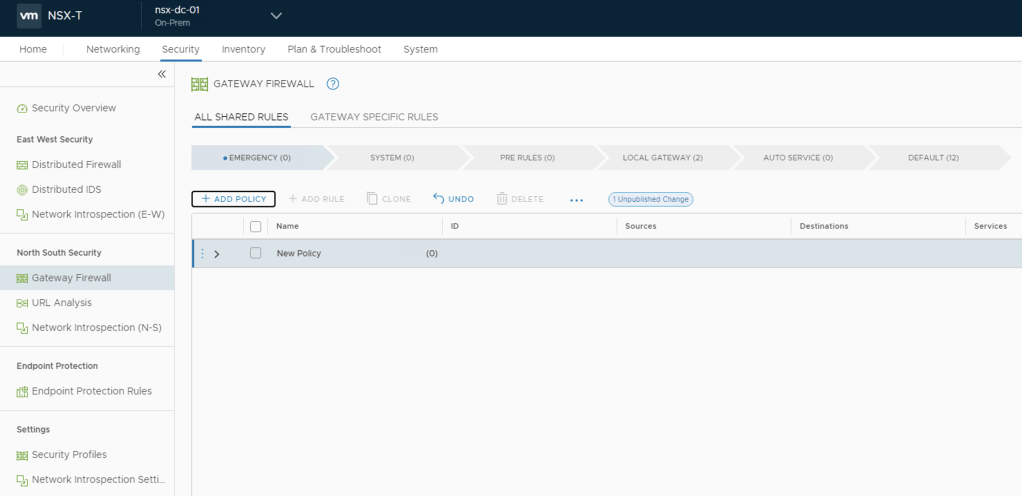
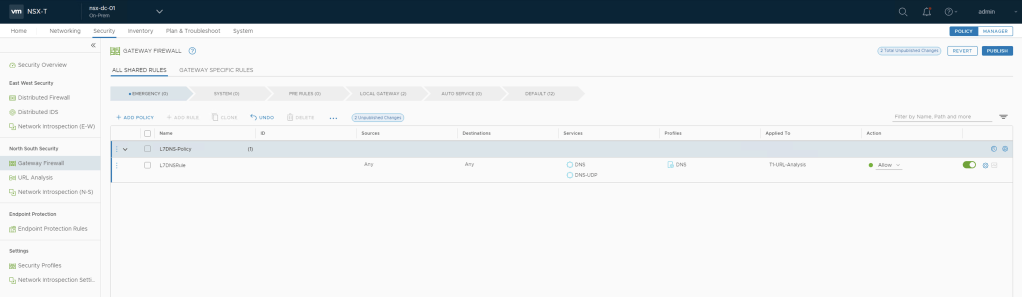
Step 4 – In this last step we need to configure a Layer 7 gateway firewall rule for DNS traffic, so that URL Analysis can analyze domain information. ***NOTE*** This is a Gateway firewall rule and not a distributed firewall rule. Navigate to Gateway Firewall on the left hand side menu.
Now we will create a L7 DNS firewall rule under the all shared rules, click on ADD Policy and you will see a new Policy Section added.
Lets rename the default name to something useful, I renamed mine L7DNS-Policy. Click on the Name “New Policy” and you will be able to edit it there.
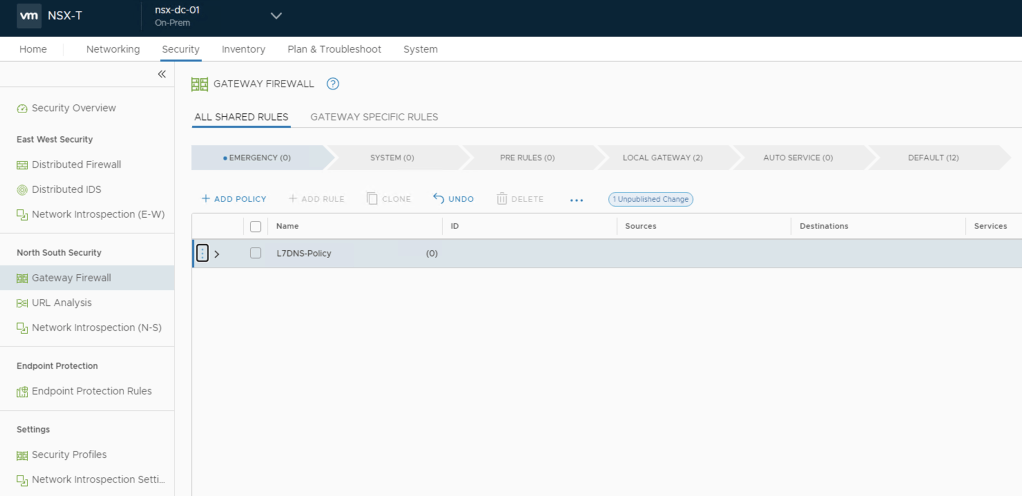
Now click on those three blue dots next to the Policy Name and select ADD RULE

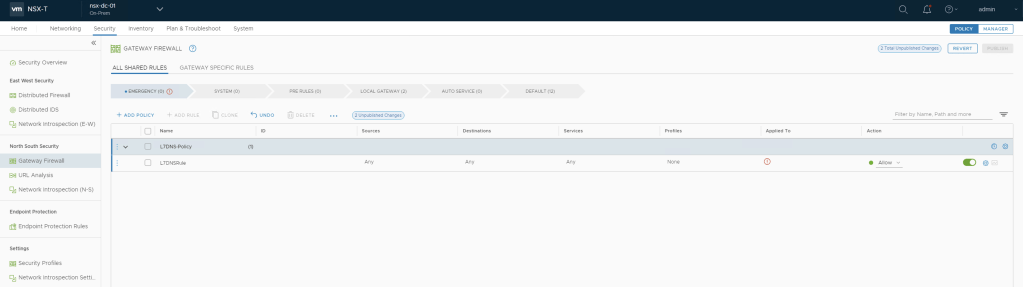
Go ahead and name new rule added, I named mine L7DNSRule and then leave the source and destination as any.
Now move the cursor over the services field in this new rule and click on the pencil so that we can edit the services, here we will search for dns and add DNS and DNS-UDP and click apply. This configured L4 DNS inspection

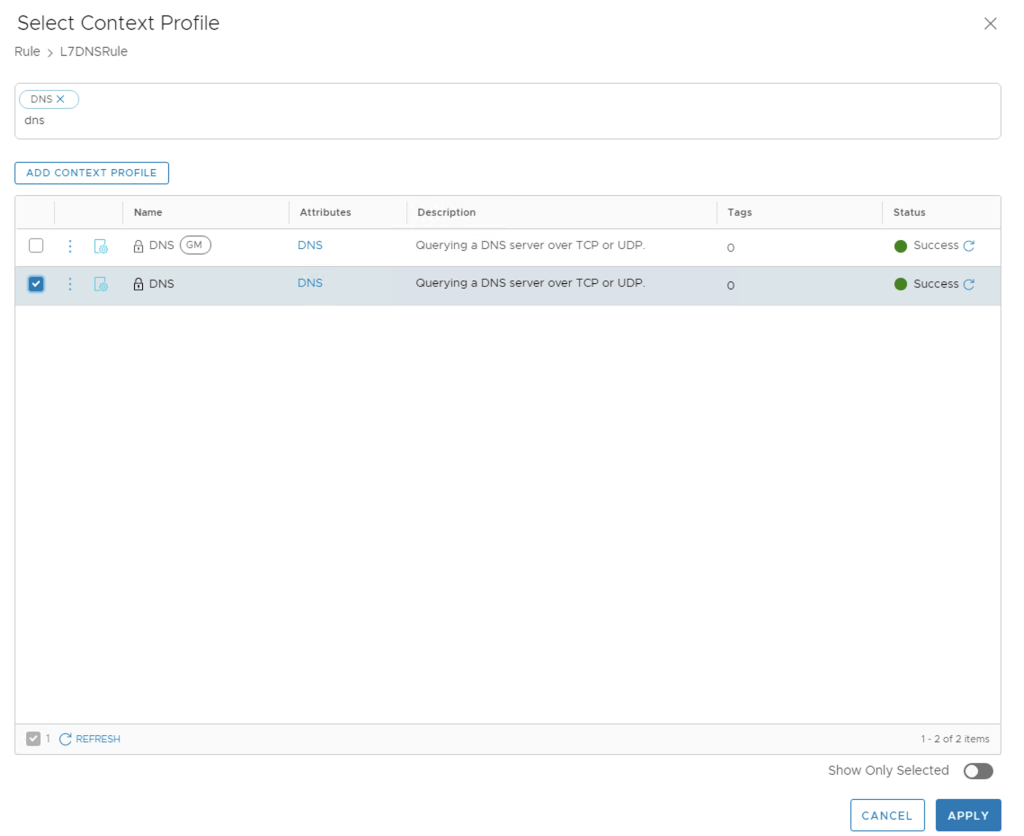
Next move the cursor over the Profiles where is says “none” and click the pencil to edit this field.

Here we will select DNS, this is where we enable the L7 DNS Inspection capabilities – Click Apply
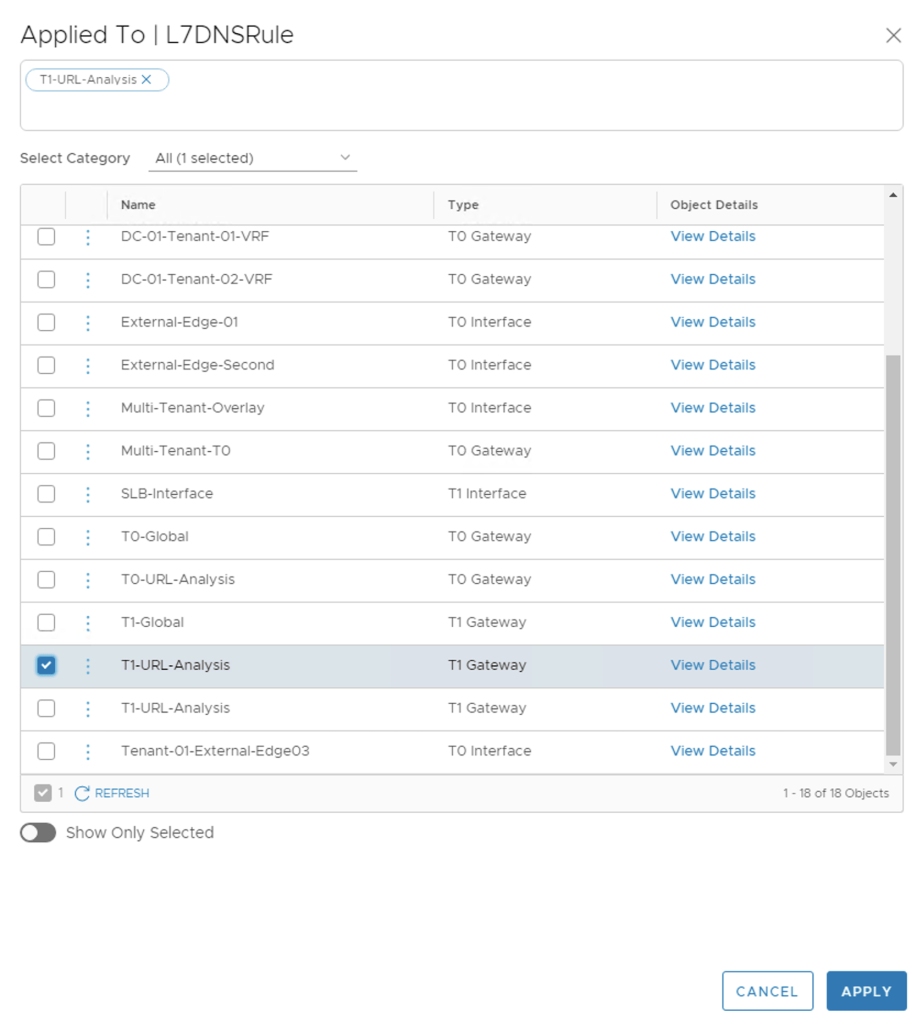
The last step is to apply this L7 DNS Policy to the T1 where are end system segments are connected too – You can only apply this to a T1. Again hover the cursor over the applied to field and click the pencil and select the T1 you will use – I am using T1-URL-Analysis here. Then click Apply.
Once you hit Apply you will see the Policy defined and now we just need to Publish this policy so that the NSX Manager push the policy as needed – So go ahead and click Publish in the top right.
You can click the refresh button on the bottom left hand side and watch until the policy status is green and says

Final Step – Now that all the configuration work is done, we can go back to the URL Analysis and see if we seeing our URL’s being classified, you might the “URL Analysis in Progress. Please check back.” screen. Generate some DNS requests in your environment and return to the dashboard – I have a virtual Windows Desktop connect to one of the segments and I just opened a browser and open various web sites to create some traffic.
After a short while access the Security Overview dashboard and you should see data populated on the URL ANALYSIS SUMMARY – N-S TRAFFIC
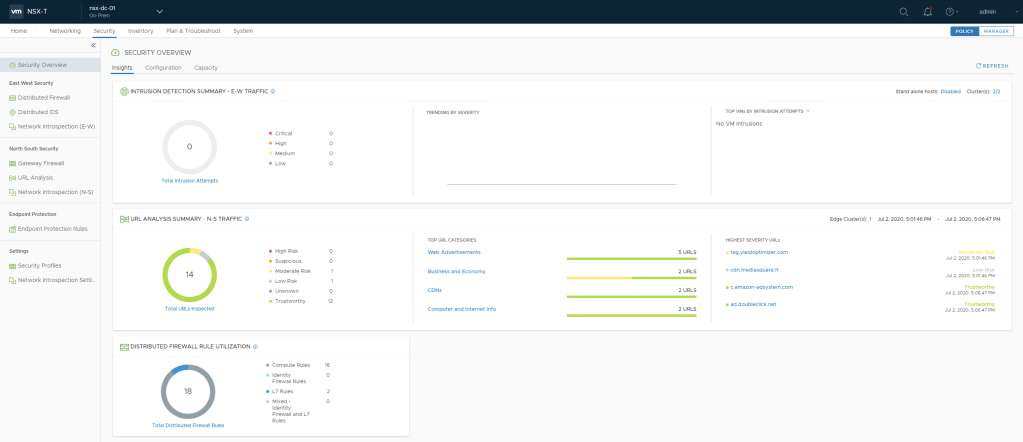
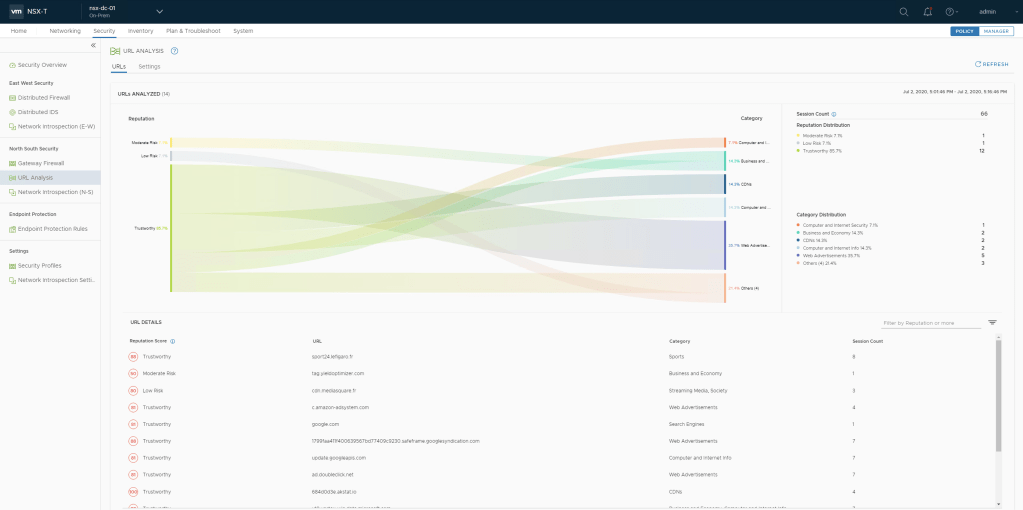
For a detailed view, click on the URL Analysis tab on the right hand side and you will see the output below. Note all the Reputation scores, categories and others details.
Congratulations, you now have a working NSX-T 3.0 URL Analysis environment

One thought on “NSX-T 3.0 URL Analysis”