
VMware NSX-T Distributed Firewall (DFW) offers L2 to L7 stateful firewall capabilities, in my previous blog I covered the capability to create policies matching FQDN/URLs. This blog will further expand on the NSX-T DFW capabilities and focus on time-based firewall policies.
With time-Based firewall policies, security administrators can restrict traffic from a source to a destination for a configured time period. This could be to restrict access to certain resources during specific hours.
Time windows apply to a firewall policy section, and all the rules in it. Each firewall policy section can have one time window. The same time window can be applied to more than one policy section. If you want the same rule applied on different days or different times for different sites, you must create more than one policy section. Time-based rules are available for distributed and gateway firewalls on both ESXi and KVM hosts.
This demonstration and blog is based on NSX-T 3.1.1
Prerequisites
As per the VMware documentation, the following needs to be in place:
Network Time Protocol (NTP) is an Internet protocol used for clock synchronization between computer clients and servers. NTP service must be running on each transport node when using time-based rule publishing.
If a time-zone is changed on the edge transport node after the node is deployed, reload the edge node or restart the data plane for time-based gateway firewall policy to take effect
It is highly recommended to enable NTP on network and security appliances in your environment, this is really helpful for troubleshooting and monitoring purposes.
At the time of creating this blog, Time-Based policies are only supported with NSX-T appliances configured with the timezone set to UTC.
Getting Started
I will start with configuring NTP on my NSX-T setup to confirm that the prerequisites are in place and then cover enabling Time-Based policies.
Configuring NTP on Appliance and Transport Nodes
Configure NTP on an appliance
Some system configuration tasks must be done using the command line or API. We will do the needed from the NSX-T CLI. The following commands should be configured on the NSX-T Manager appliance and the NSX-T Edge appliances
- Set system timezone set timezone <timezone>
- Set NTP Server set ntp-server <ntp-server>
- Set a DNS server set name-servers <dns-server>
- Set DNS Search Domain set search-domains <domain>
Open a terminal and ssh to the management IP/Virtual IP of the NSX-T Manager and/or the NSX-T Edge devices as admin. In my lab the NTP and DNS service is running on 192.168.10.9
- nsx-dc-01> set timezone UTC
- nsx-dc-01> set ntp-server 192.168.10.9
- nsx-dc-01> set name-servers 192.168.10.9
- nsx-dc-01> set search-domains vmwdxb.com
After doing these configurations on the NSX-T Manager and NSX-T Edge(s) Nodes, the time should match the time of day on the NTP source. The NSX-T Edge appliance will use its management IP address as the source of the NTP/DNS lookup so confirm you have network connectivity from these interfaces to the NTP/DNS and open any firewalls if needed. NTP uses UDP port 123.
***If you are changing the timezone on the edge devices, you will need to restart the service data plane or reload the edge appliance***. “restart service dataplane”
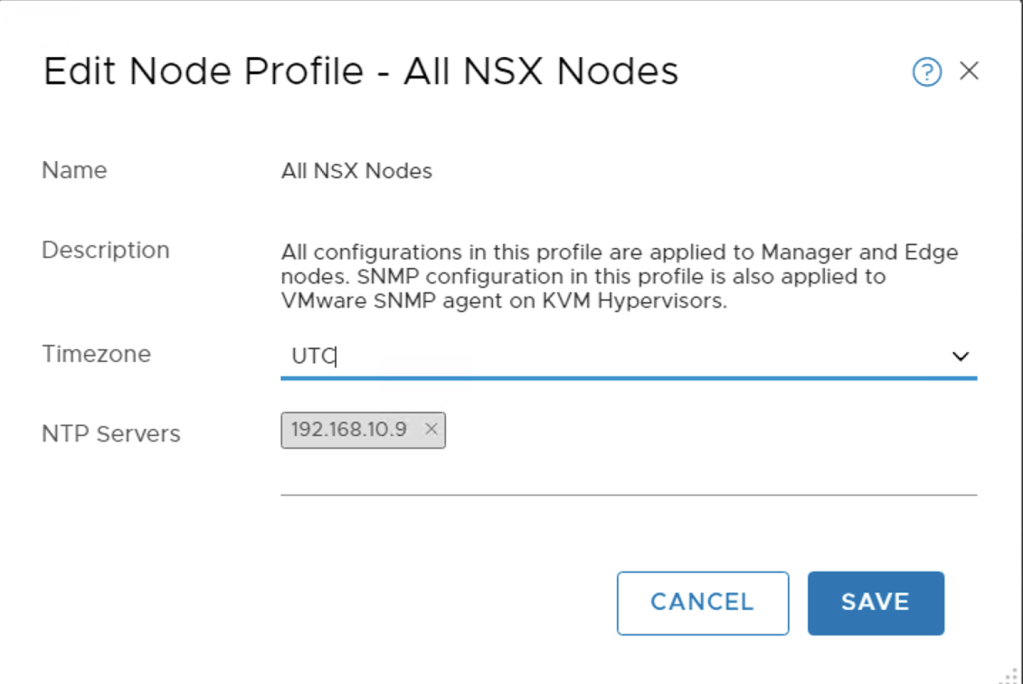
Alternatively the NSX-T Manager UI also allows NTP configurations to be applied to all nodes using the Node Profile under the Fabric configurations.
To configure NTP for an ESXi host, see the topic Synchronize ESXi Clocks with a Network Time Server, in vSphere Security or if your hosts are managed by vCenter.
Confirm that the ESXi hosts are synchronised with NTP using ntpq -pn from the CLI – confirm that there is * next to the NTP server IP

Configuring Time-Based Security Policy
Create a firewall policy or edit an existing policy. I pre-configured a policy section with one DFW rule allowing two desktops access to anything. From the steps below I will be enabling the Time-Based Firewall on the Time-Based-Policy DFW section.
- (Step 1) Click the clock icon on the firewall policy you want to have a time window.

A time window appears
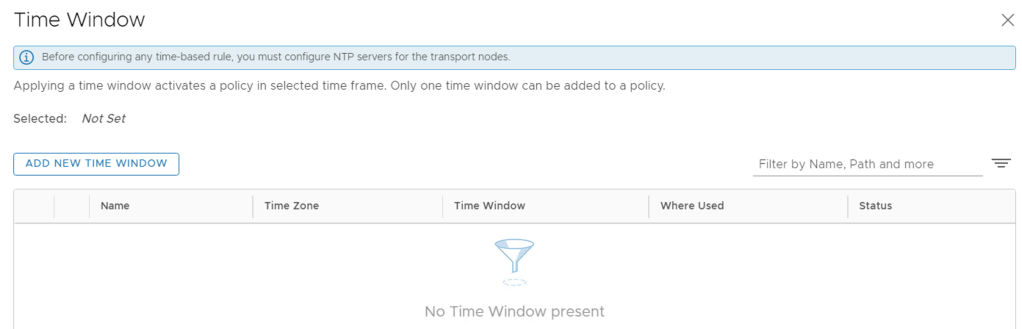
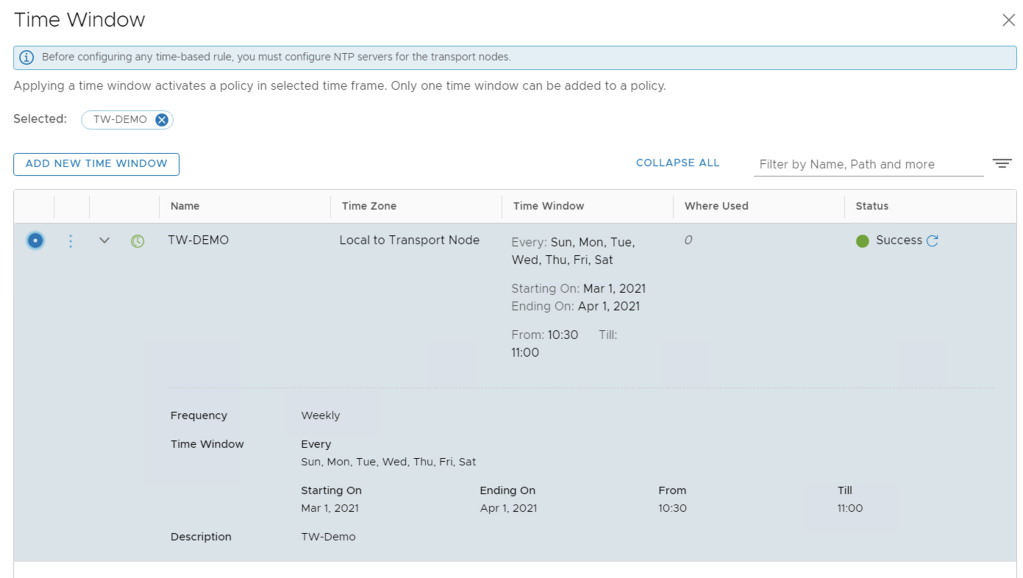
- (Step 2) Click Add New Time Window and enter a name
- (Step 3) Select a time zone: UTC (Coordinated Universal Time), or the local time of the transport node. Distributed firewall only supports UTC with NTP service enabled, a change of time zone configuration is not supported
- (Step 4) Select the frequency of the time window – Weekly or One time.
- (Step 5) Select the days of the week that the time window takes effect.
- NSX-T Data Center supports configuring weekly UTC time-windows for the local time-zone, when the entire time-window for the local time-zone is within the same day as the UTC time-zone. For example, you cannot configure a time window in UTC for a 7am-7pm PDT, which maps to UTC 2pm-2am of the next day.
- (Step 6) Select the beginning and ending dates for the time window, and the times the window will be in effect.
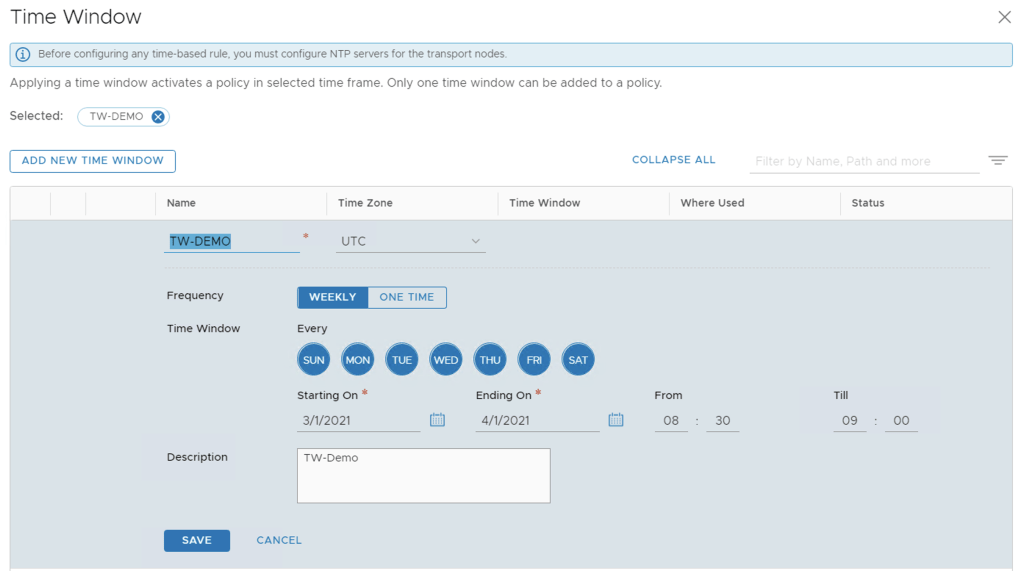
- (Step 7) Click Save
In my demonstration I have selected the policy to be activate daily starting from the 1st of March 2021 until 1st of April 2021 and only be applied between 08:30 to 09:00 in the morning.
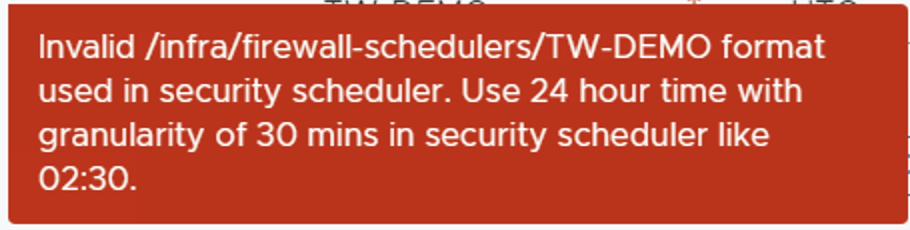
***Take note the minimum configurable time range is 30 minutes and only supported in 30min blocks.***
(Step 8) Click the check box next to the policy section you want to have a time window. Then click the clock icon.
- (Step 9) Select the time window you want to apply, and click Apply.
- (Step 10) Click Publish, The clock icon for the section turns green.
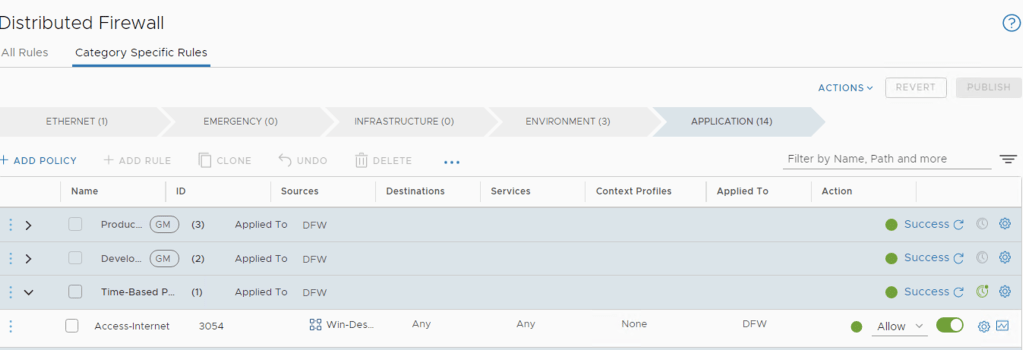
When publishing the policies, NSX-T Manager will check and confirm that NTP is correctly configured and running on transport nodes before the Time-Window is successfully applied. The Clock turns green when successfully applied. If you click on Success in the Firewall Section you can see the transport hosts where this policy has been pushed too successfully.

For the first publication of a time-based rule, the time is taken, and rule enforcement begins at less than 2 minutes. After the rules are deployed, enforcement as per time window, is instantaneous.
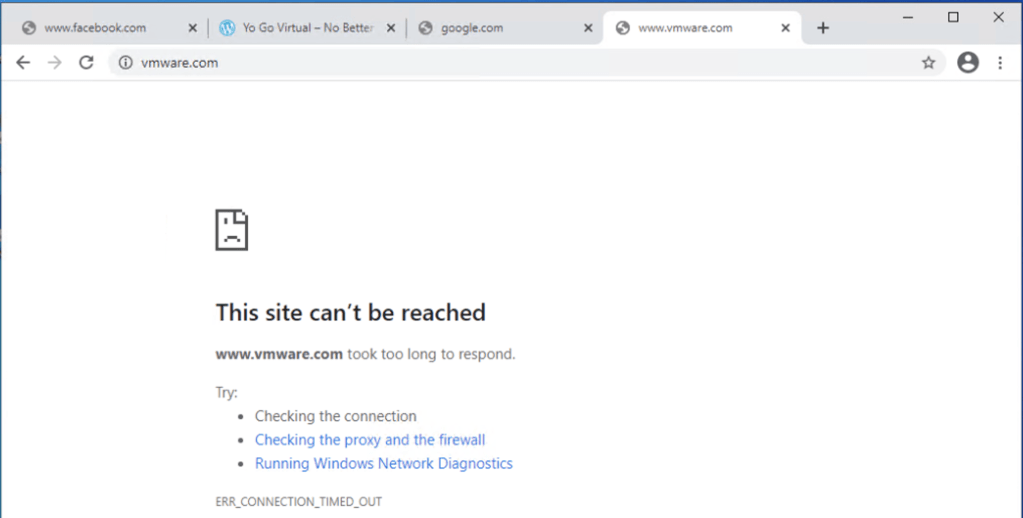
Outside of the time window configured NSX-T was preventing access to the Internet for my demo desktop.
As the clocked changed to open window, I refreshed the page and successfully loaded the page.

From LogInsight you can see that it is indeed my DFW rule number 3054 allowing the access.

Some side notes
When I published the DFW policy changes the first time an error occurred and the NSX-T manager reported that my transport nodes (ESXi hosts) did not have a valid NTP Service running.

Although I had NTP configured on ESXi hosts pointing to a Win2012 server in my lab, NTP was not actually synchronising with the Win2012 server. So I switched all my ESXi nodes and NSX-T nodes to point to a Ubuntu virtual machine which I configured as a NTP Server too and this resolved error above.

You can see from the screenshot above, there is no * next to the IP 192.168.10.5

Thanks for the taking time to read this blog, hopefully you found it useful. It definitely helped me get a better understanding of making use of this feature.
