VMware NSX-T Distributed Firewall (DFW) offers L2 to L7 stateful firewall capabilities. Most NSX-T operators are fairly comfortable creating L4 policies in the quest to achieve the “zero-trust” model.
In this blog I wanted to take this one step further and explore the capabilities of using the DFW to enforce policy matching L7 FQDN/URLs. I will demonstrate how to go about using some builtin FQDN’s and adding a custom FQDN’s to create security policies restricting outbound access from virtual workloads attached to NSX-T overlay networks.
A fully qualified domain name (FQDN) is the complete domain name for a specific host on the Internet. FQDNs are used in firewall rules to allow or reject traffic going to specific domains.
NSX-T Data Center supports custom FQDNs that are defined by an administrator on top of an existing pre-defined list of FQDNs.
This demonstration and blog is based on NSX-T 3.1.1

Prerequisites
As per the VMware documentation, the following needs to be in place:
You must set up a DNS rule first, and then the FQDN allowlist or denylist rule below it. This is because NSX-T Data Center uses DNS Snooping to obtain a mapping between the IP address and the FQDN. SpoofGuard should be enabled across the switch on all logical ports to protect against the risk of DNS spoofing attacks. A DNS spoofing attack is when a malicious VM can inject spoofed DNS responses to redirect traffic to malicious endpoints or bypass the firewall.
FQDN-based rules are retained during vMotion for ESXi hosts.
NOTE: ESXi and KVM hosts are supported. ESXi supports droplisting action for URL rules. KVM supports the allowlisting feature.
Custom FQDN supports the following
- Full FQDN names such as maps.google.com or myapp.corp.com
- Partial REGEX with * at the beginning only such as *eng.northpole.com or *yahoo.com
- FQDN name length up to 64 characters
- FQDN names should end with the registered Top Level Domain (TLD) such as .com, .org, or .net
Getting Started
- (Step 1) From your browser, log in with admin privileges to an NSX Manager at https://
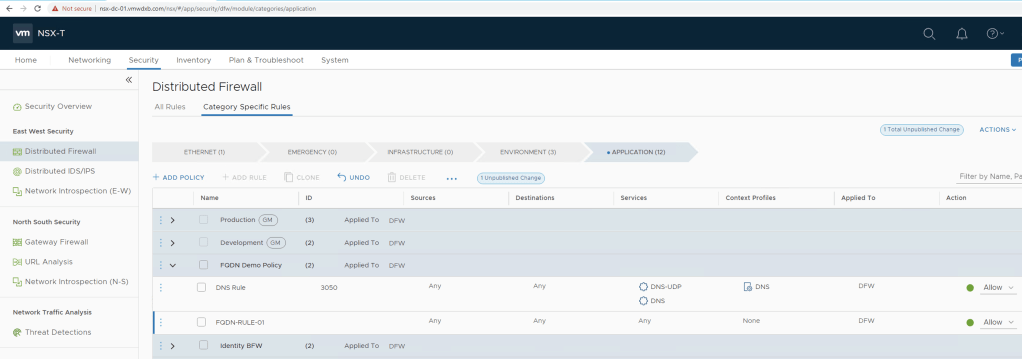
- (Step 2) Navigate to Security -> Distributed Firewall ->
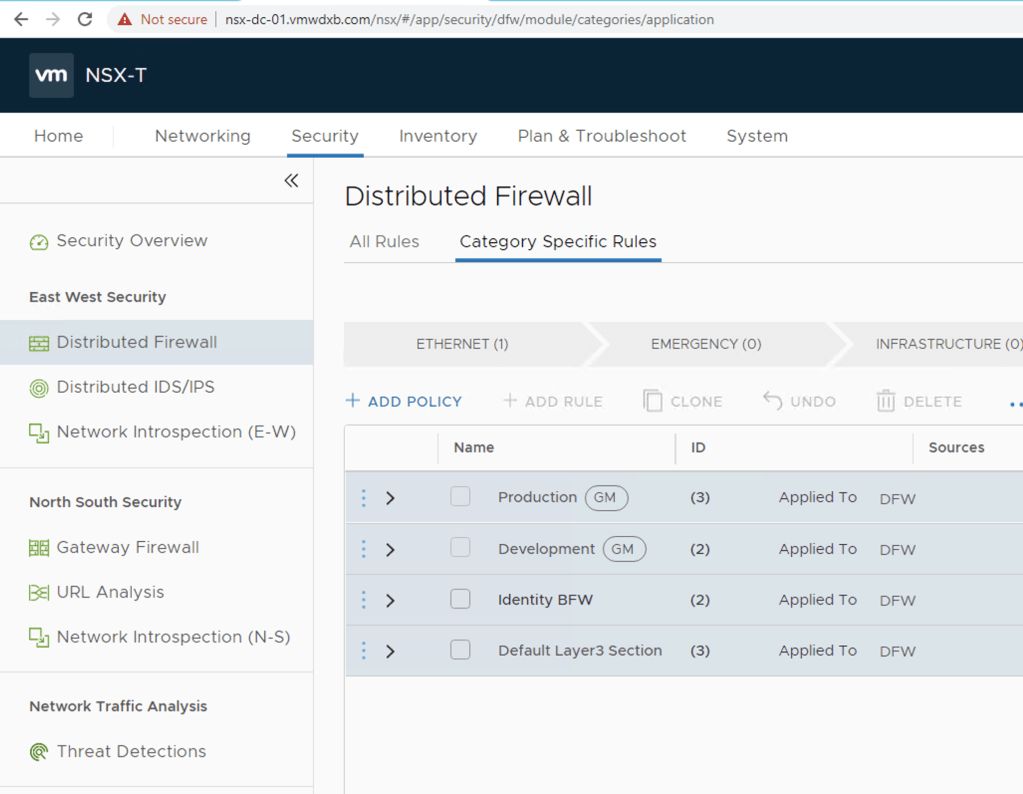
- (Step 3) Add a firewall policy section by following the steps in Add a Distributed Firewall. An existing firewall policy section can also be used.
- (Step 4) Select the new or existing firewall policy section
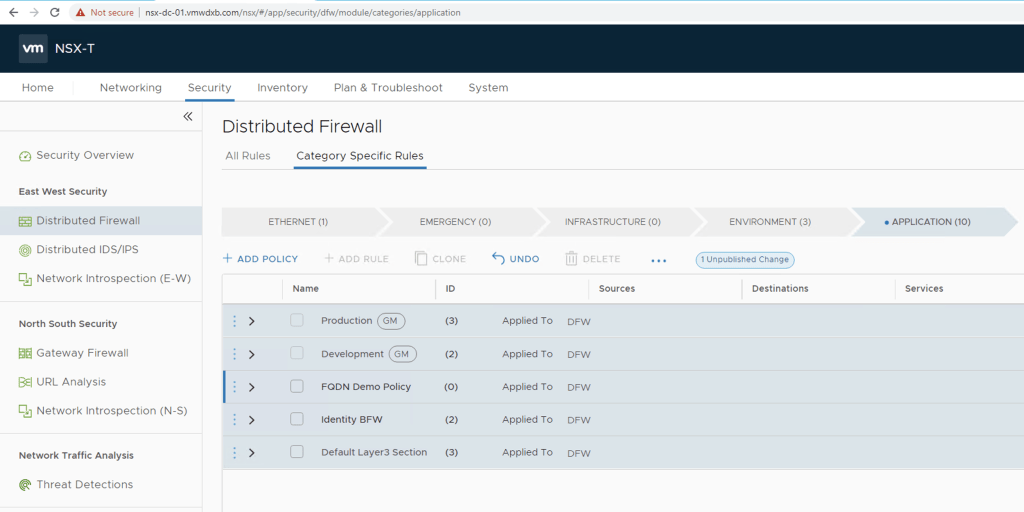
- (Step 5) Click Add Rule to create the DNS firewall rule first – I will create the firewall in the policy section created in step 3
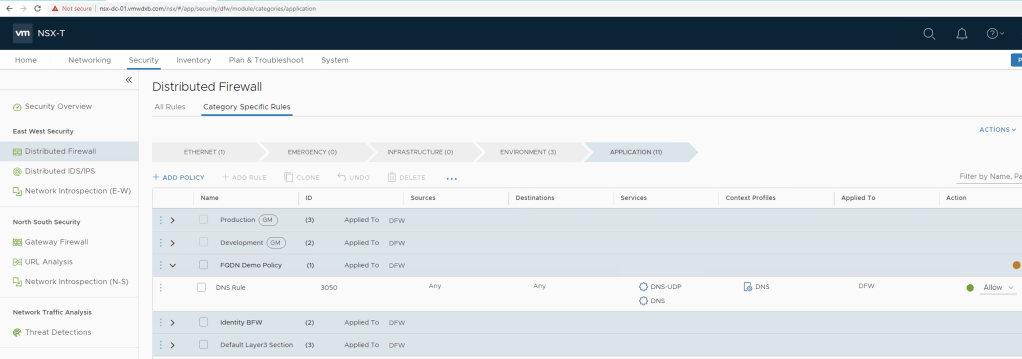
- Provide a Name for the rule – My example is using DNS Rule
- Select the Services (DNS/UDP-DNS) – I included both for the purpose of the demo
- Select the L7 Context Profile (DNS) – This is system generated context profile, and is available in your deployment by default.
- Applied To – Select the group as required, I left it default at this stage.
- Action – Select Allow
- (Step 6) Click Add Rule again to set up the FQDN allowlisting or denylisting rule
- (Step 7) Name the rule appropriately, such as, FQDN/URL Allowlist. Drag the rule under the DNS rule under this policy section.
***Take note about dragging the newly created FQDN rule below the DNS Rule ***
- (Step 8) Provide the following details
- Services Click the edit icon and select the service you want to associate with this rule, for example, HTTP [I selected HTTP & HTTPS]
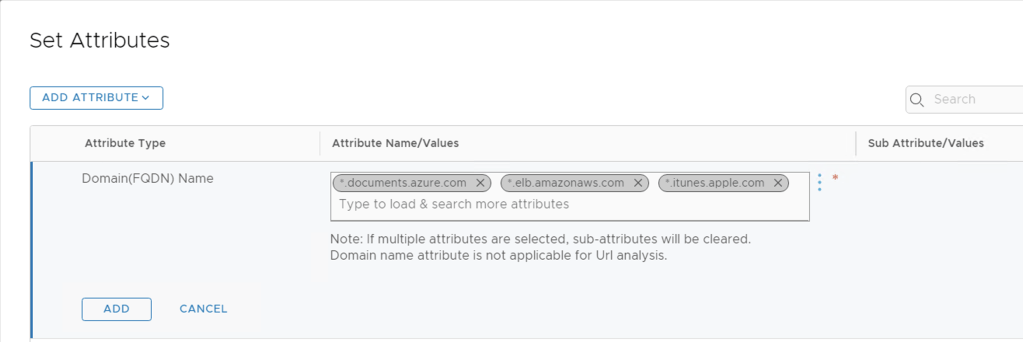
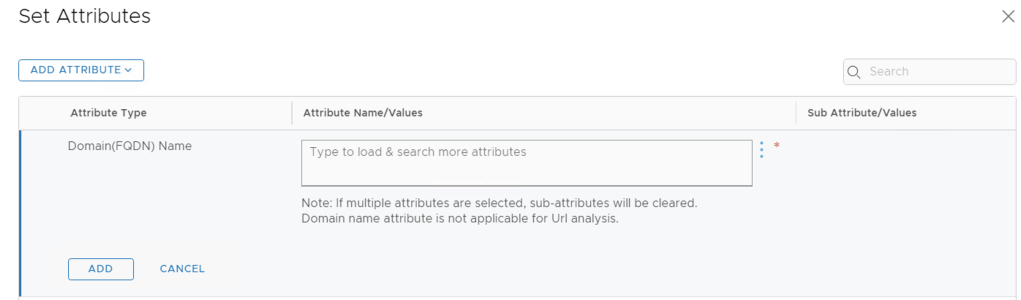
- Context Profiles Click the edit icon, and Add Context Profile and name the profile. In the Attributes column, select Set > Add Attribute > Domain (FQDN) Name . Select the list of Attribute Name/Values from the predefined list, or create a custom FQDN
- My Customer Context Profile is Named FQDN-Profile and I added the following builtin FQDN attributes to start my testing with:
- Applied To Select DFW or a group as required.
- Action Select Allow, Drop, or Reject.
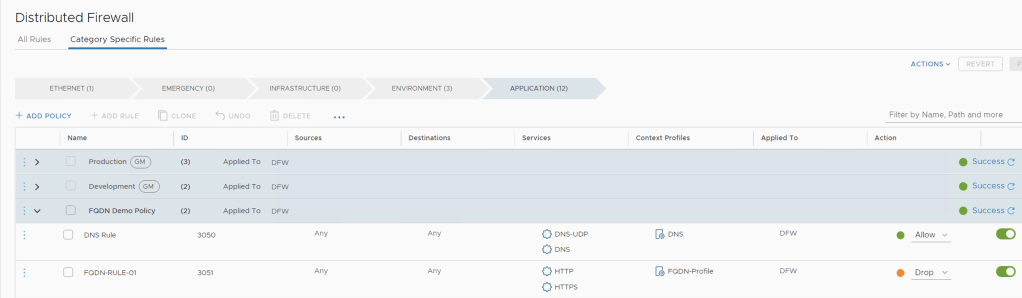
- I am going to set the action to drop to prevent access to three selected FQDN’s
- Action Select Allow, Drop, or Reject.
- (Step 9) Publish
Demonstration
I am using virtual desktop connected my NSX-T environment and will be using the Chrome browser to access some websites to confirm if my policy created is prevent the access to the selected FQDN’s. I am going to start off with setting m FQDN policy to allow so that I can confirm the connectivity to itunes.apple.com does indeed work.

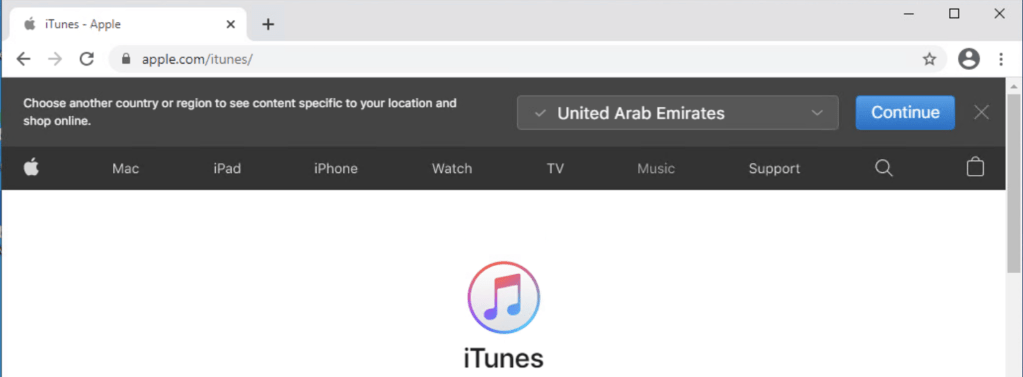
Next I am going to access itunes.apple.com to confirm connectivity
Now I will set my security policy back to block and test this page again.

Now with the FQDN rule set to drop, my access to itunes.apple.com has been restricted by the NSX-T DFW

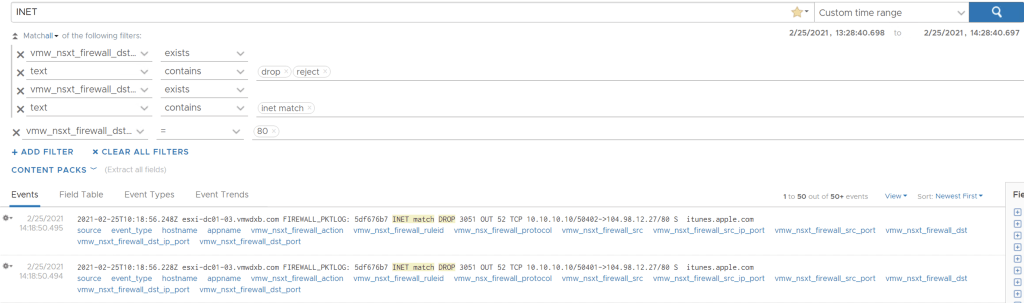
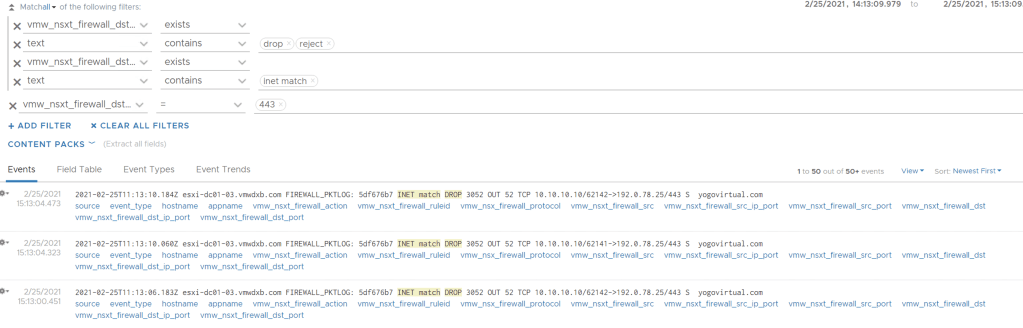
Just to make sure that the NSX-T DFW is actually dropping the data, I logged into my LogInsight Log server filtered to all dropped logs
Custom FQDN Demo
So in the demonstration above I just used some of the built-in FQDN’s provided by NSX-T when installed, now I will create a custom FQDN of my choice and perform the testing again.
I am going to add another DFW firewall to my policy section named FQDN-Rule-02 – follow from step 6 but when you get to step 8, instead of selecting one of the out of the box FQDN’s in the context profile click on the three dots on the right hand side.
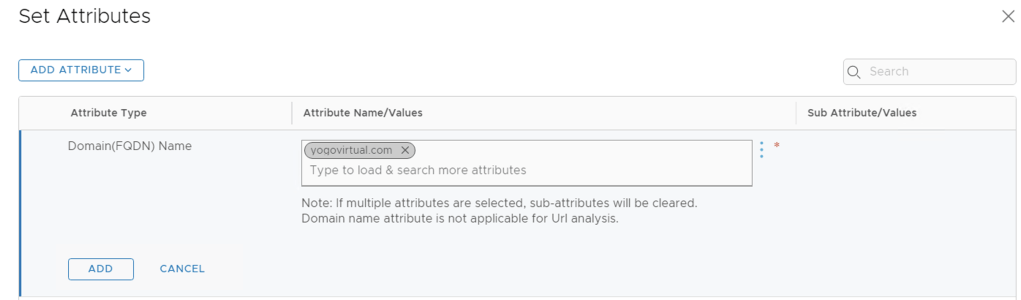
Once you clicked on those three dots and hit ADD FQDN, it opens the pop up shown below and you enter your custom FQDN/URL and click save.
Take Note: Enter the domain name in form *[hostname].[domain]

Now that you have selected your custom FQDN attribute click ADD and then Apply and save the Context Profile.
Then click Apply

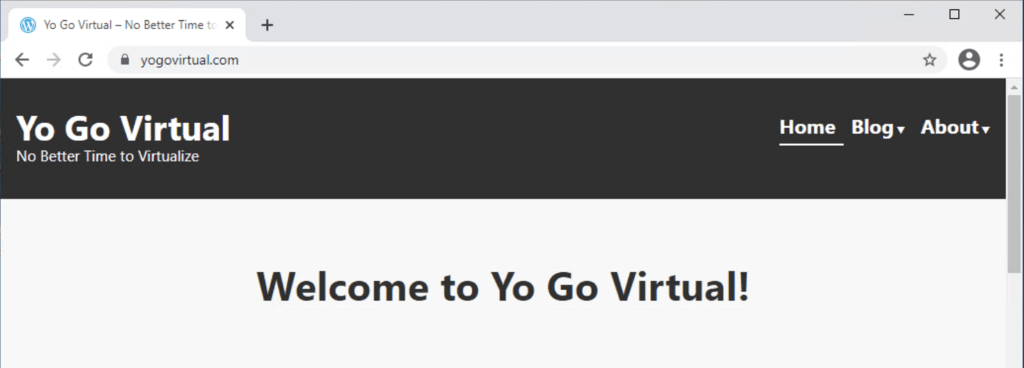
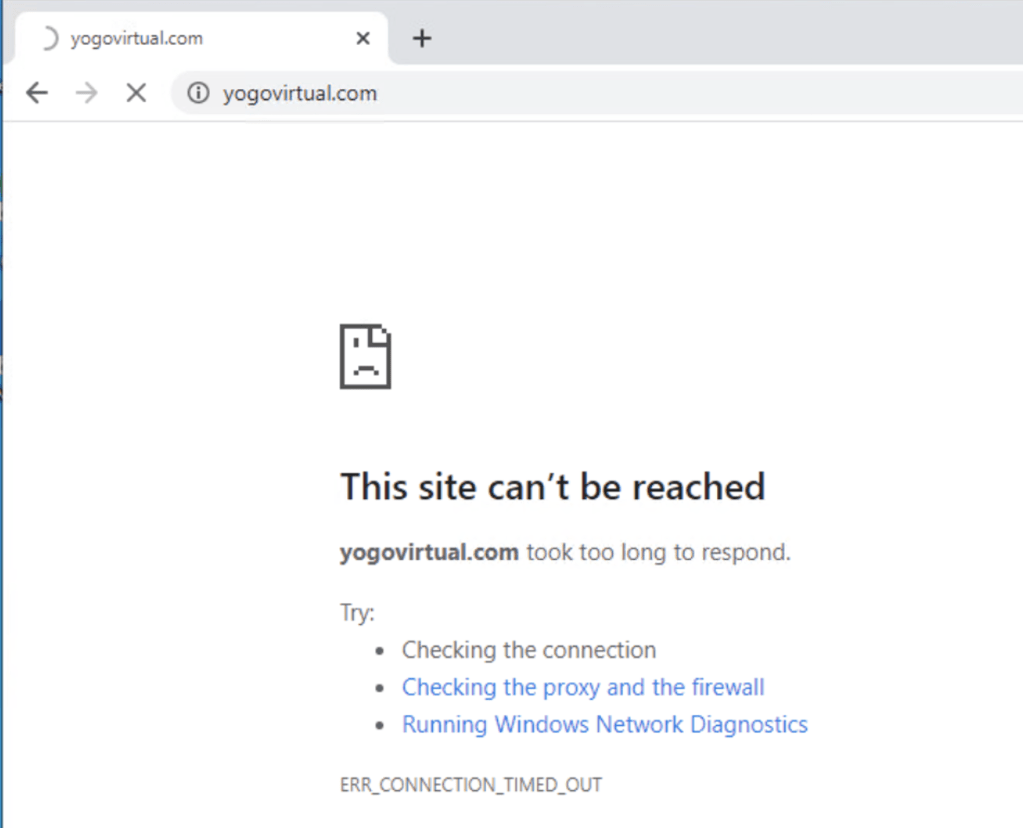
Once completed you will see the newly created DFW rule, I have set my rule to allow to confirm connectivity to you yogovirtual.com. Then I am going to change the action to drop.

I changed the policy to drop in the NSX-T DFW and closed the browser and opened the page again and confirmed that the access to the customer FQDN is blocked.
I accessed my LogInsight to confirm the drop action taking place
This concludes this blog post, I hope that it helps you understand how to enable FQDN based Filtering using the NSX-T DFW.

Great write-up, I’m regular visitor of one’s website, maintain up the excellent operate, and It’s going to be a regular visitor for a long time.
LikeLike